Project settings
This chapter lists everything that has to be set up once per project. It is best to complete these steps right after installing the package and before opening the demo maps, so you can see the examples exactly as intended. Most of the changes require restarting the editor.
Required plugins
Fluid Flux depends on several engine plugins. All of them ship with Unreal Engine – nothing needs to be downloaded, the plugins only need to be enabled:
- Open your project and go to Edit → Plugins.
- Type the plugin name in the search field at the top of the window.
- Check the Enabled box next to the plugin (confirm the beta warning if it appears).
- Repeat for every plugin from the table below, then click Restart Now – the editor must be restarted before the plugins become active.
| Plugin | Used for | Description |
|---|---|---|
| Fab | Installation | Lets you browse your Fab library inside the editor and add Fluid Flux to the project. See Installation. |
| Python Editor Script Plugin (PythonScriptPlugin) | Editor tools | Runs the Python scripts behind the editor tools, e.g. OpenSurfaceEditorTab used for editing color presets. |
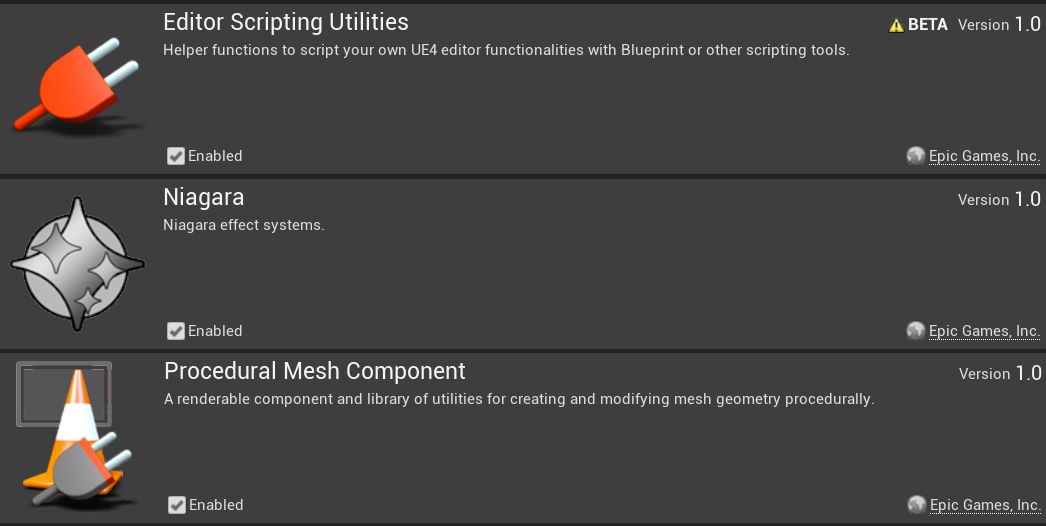
| Editor Scripting Utilities | Editor tools | Gives the Fluid Flux editor utility widgets and tools access to assets and actors in the editor, e.g. EUW_FluxBuoyancyEditor or saving baked states and data assets. |
| Geometry Script (GeometryScripting) | Mesh generator | Used by BP_FluxSurfaceMeshGenerator to bake the simulation surface into an optimized static mesh. Works in the editor only. |
| Procedural Mesh Component | Procedural meshes | Generates procedural meshes used by the surface and the editor tools. |
| Niagara | Effects and readback | Reads fluid data back from the GPU (swimming, buoyancy, audio), renders the infinite surface grid and drives the particle effects (bubbles, splashes, plants, rain). |
Rendering settings
Make sure that the following project settings are configured:
| Setting | Value | Description |
|---|---|---|
| DBuffer | Enabled | It’s required for proper decal rendering (wetness and caustics). If you don’t want to use those effects, you can disable the decal material in the surface actor. |
| CustomDepth-Stencil Pass | Enabled | This feature is required to render underwater depth maps. |
| Velocity Pass | Write During Base Pass | This feature improves the motion vector rendering. |
| Default Renderer Motion Vector | Precise | This feature improves the motion vector rendering. |
| Mask material only in early Z-pass | False | Required for proper tunnel capturing. |
| HighQualityTranslucencyReflections | Disabled | This option can cause a crash when used in conjunction with the substrate. |
(config) r.OIT.SortedPixels | Disabled | This option may cause wrong translucent sorting in underwater materials. |
(console) r.HairStrands.ComposeAfterTranslucency | 0 | Only if you plan to use a grooming system (such as hair) in your project. Ensures the post-process runs after the grooming materials are finished. |
| Shadow Map Method | Virtual Shadow Maps | Shadows on water may look a bit blocky. This is a limitation of the single-layer water material in Unreal (improved in UE5.3). Virtual Shadow Maps together with the three settings below make them look better. |
(config) r.Water.SingleLayer.DepthPrepass | 1 | Add to DefaultEngine.ini – improves shadows on water. |
(config) r.Water.SingleLayer.ShadersSupportVSMFiltering | 1 | Add to DefaultEngine.ini – improves shadows on water. |
(config) r.Water.SingleLayer.VSMFiltering | 1 | Add to DefaultEngine.ini – improves shadows on water. |
Real-time viewport
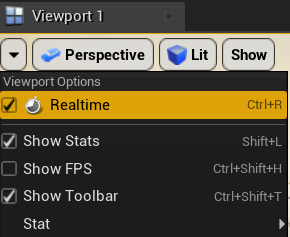
Ensure that Real-time rendering is active in your viewport, as it is required to simulate fluid motion in the editor.